
Curb appeal doesn’t start at your front door — it starts at the street. One of the most overlooked details on a home is the mailbox, and upgrading it is one of the simplest ways to make your property feel more intentional and well cared for.
This mailbox build is a straightforward weekend project that replaces a tired, builder-grade mailbox with a solid wood-and-metal design that looks custom, durable, and clean.
Here’s exactly how I built it.
Step 1: Remove the Old Mailbox
The first step was removing the existing mailbox and post. Most builder-grade mailboxes are lightly set and easy to pull once the surrounding soil is loosened.
Once the old mailbox was out, I cleared the area completely to prepare for a more permanent and solid installation.
Step 2: Dig a Larger Hole
Instead of reusing the original hole, I dug a larger and deeper hole to properly support the new structure.
A wider hole allows room for:
- A concrete base
- Mounting hardware
- Proper leveling
This extra effort upfront ensures the mailbox won’t shift or lean over time.
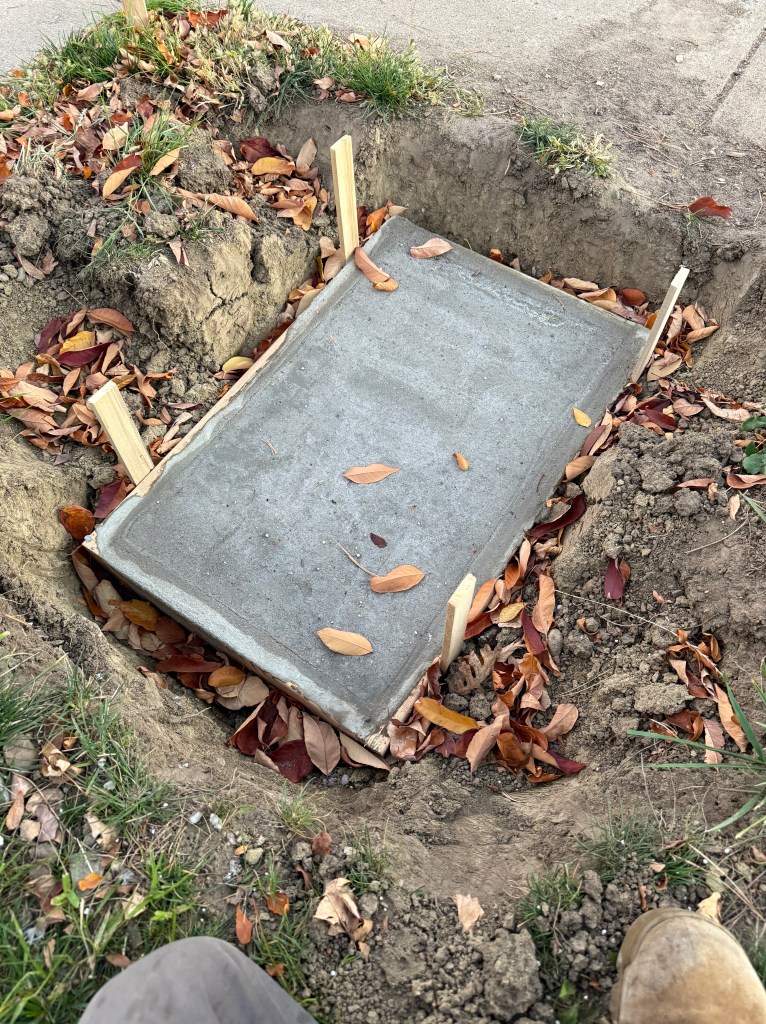
Step 3: Pour a Concrete Pad
After digging the hole, I poured a concrete pad to create a solid, level foundation for the mailbox.
The concrete was leveled carefully and allowed to cure fully before moving on. This step adds long-term stability and gives the mailbox a clean, professional base that won’t settle or erode.
Pouring a pad also makes it easier to keep the mailbox square and aligned with the sidewalk and street.
Step 4: Install 4×4 Mounting Brackets With Concrete Anchors
Once the concrete pad had cured, I installed 4×4 mounting brackets using concrete anchors.
Using brackets instead of burying wood directly in the ground:
- Prevents rot and moisture damage
- Extends the life of the structure
- Allows for easier replacement in the future
The brackets were carefully positioned and secured to ensure everything stayed level and plumb.
Step 5: Build the 4×4 Frame
With the brackets installed, I built the main frame using 4×4 lumber. This frame serves as the structural core of the mailbox and gives it a substantial, high-quality feel.
Careful measuring and squaring at this stage makes the rest of the build go smoothly.
Step 6: Plane the Fence Pickets Smooth
For the exterior panels, I used standard fence pickets. While affordable, fence pickets are typically rough-sawn.
To give the mailbox a more finished look, I planed each picket smooth. This removes mill marks, reduces splintering, and makes the final product feel far more refined.
Step 7: Cut the Pickets to Size
After planing, the pickets were cut to size to fit cleanly within the 4×4 frame.
Taking the time to cut accurately helps ensure:
- Even spacing
- Clean edges
- A professional appearance
Step 8: Oil the Fence Pickets With Mineral Oil
Before assembly, I treated the fence pickets with mineral oil to bring out the natural wood grain and provide basic moisture protection.
Oiling the boards before installation ensures even coverage on all sides.
Step 9: Paint the Outer Frame Pickets
To add contrast and visual interest, the outer pickets and frame were painted. This creates a clean, modern look and helps the mailbox stand out without overpowering the rest of the yard.
Painting before final assembly also helps prevent missed spots.
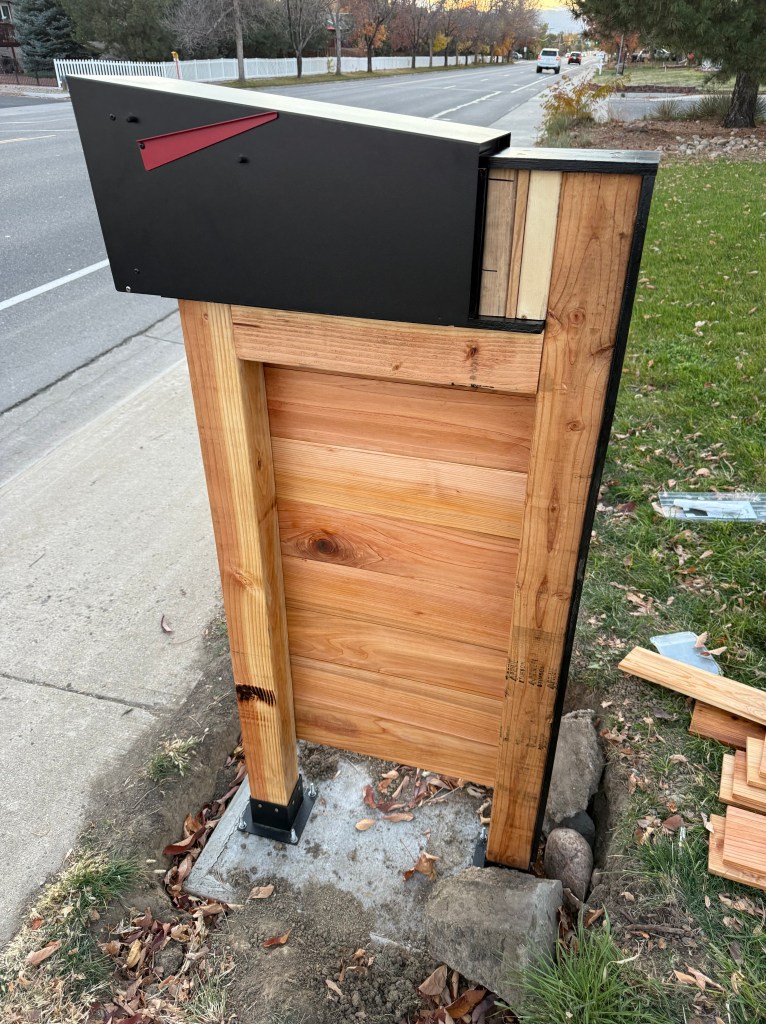
Step 10: Assemble the Mailbox Structure
With all components prepped, I assembled the mailbox by fastening the pickets to the 4×4 frame.
Because everything was pre-cut, finished, and leveled, the structure went together cleanly and stayed square.
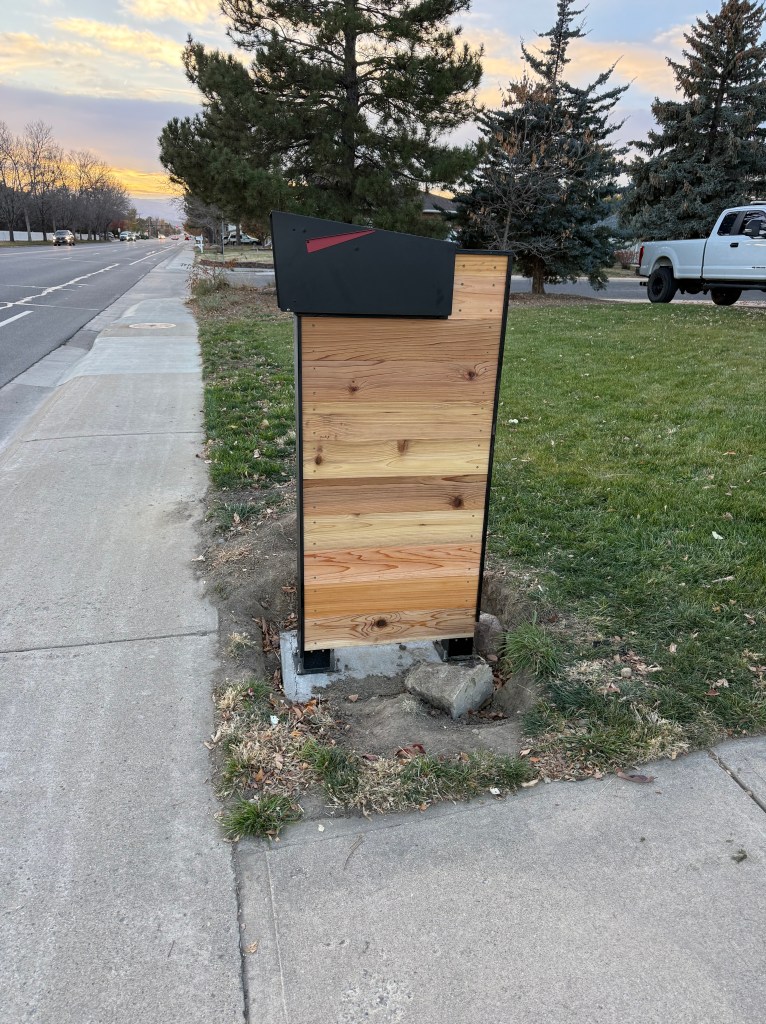
Step 11: Mount the Physical Mailbox
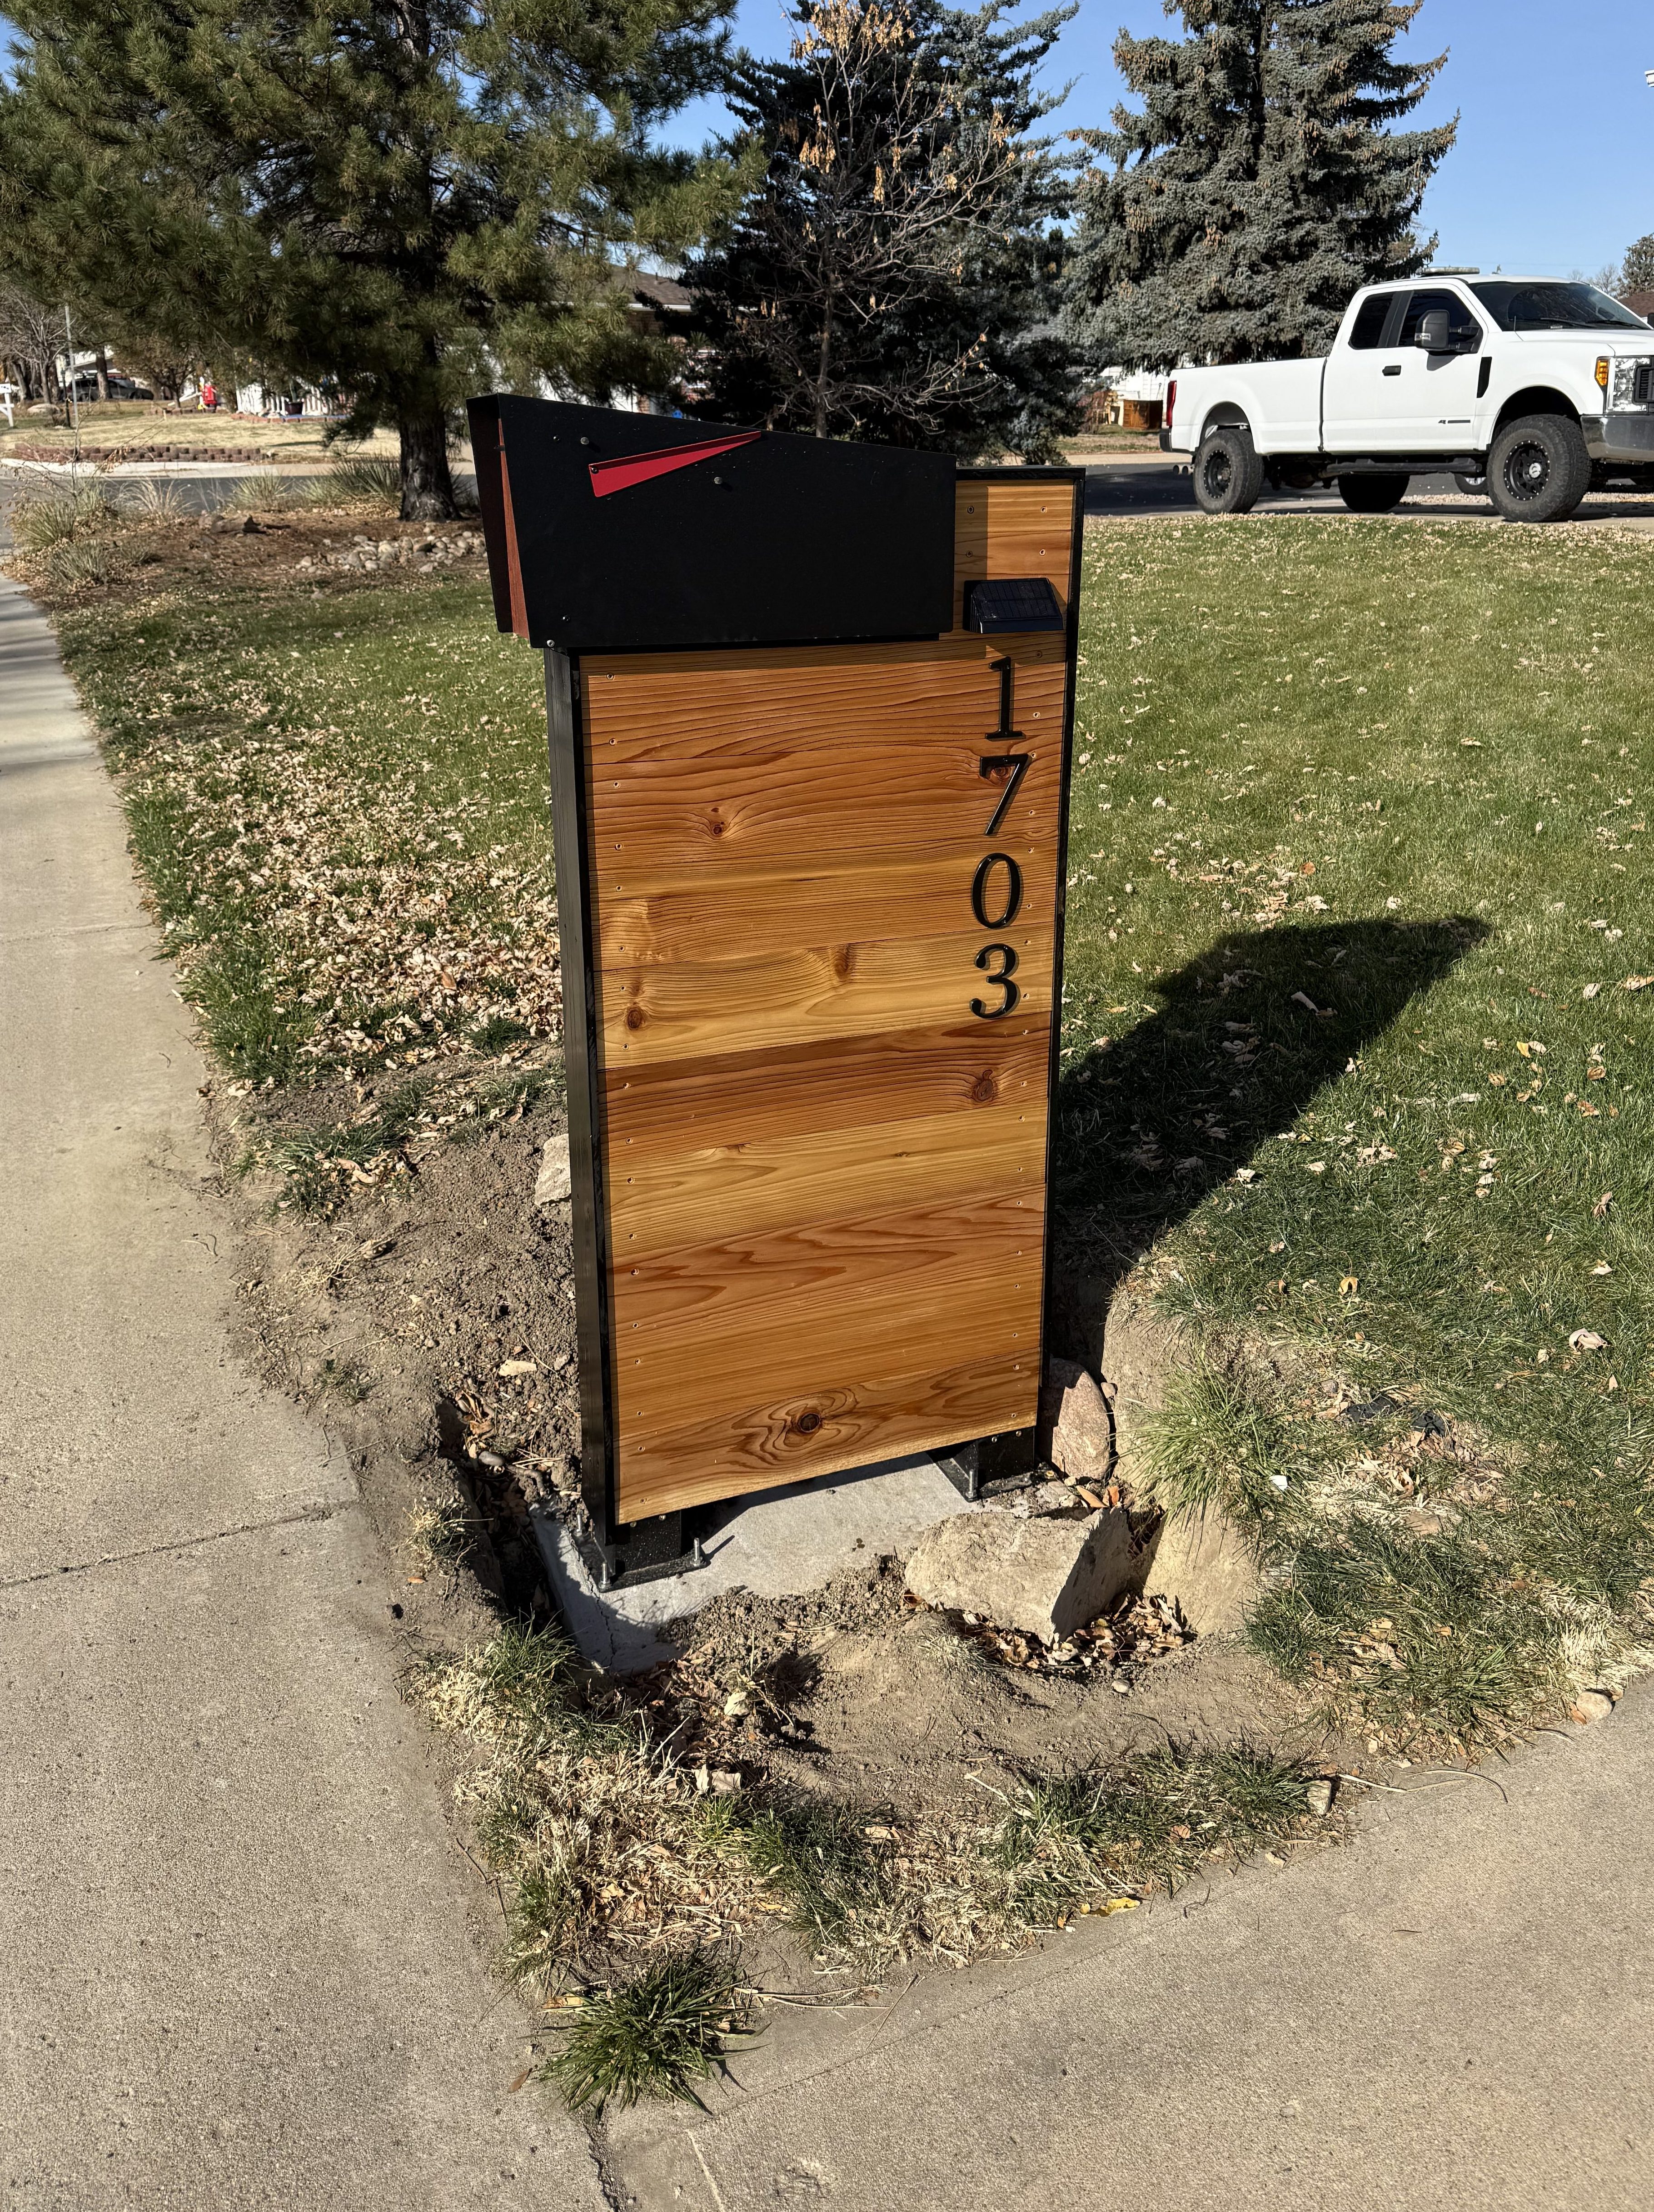
The final step was mounting the actual mailbox unit onto the completed structure.
Once installed, the mailbox felt solid, stable, and purpose-built — a major upgrade from the original builder-grade setup.
Final Thoughts: Small Project, Big Impact
This mailbox build shows how a small, focused project can dramatically improve curb appeal. By starting with a solid concrete base and using simple materials with attention to detail, you can create a durable, good-looking upgrade that makes your home feel finished.
If you’re looking for a weekend project with a high visual payoff, this is a great place to start.
Want More Simple Home Upgrades?
Follow Savage Home Skills for practical DIY projects, curb appeal upgrades, and no-nonsense homeowner tips.


Leave a comment